
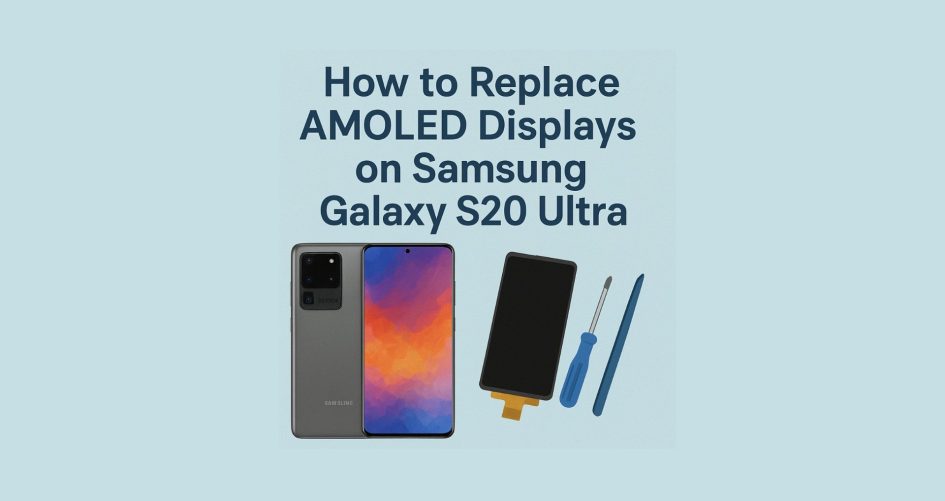
Replacing a S20 Ultra screen isn’t just about swapping glass—it’s about precision, quality, and choosing the right Samsung refurb parts for the job. Whether you’re a technician, refurb business owner, or DIY enthusiast, mastering the AMOLED replacement process on Samsung’s flagship device will save you money, improve repair turnaround, and deliver top-tier results for your customers.
In this guide, we break down how to perform a proper AMOLED replacement on the Galaxy S20, which tools you need, how to avoid damage, and how to source the best Samsung refurb parts for professional results. Know more.
1. Why Replacing the S20 Screen Is Different
The Galaxy S20 is a high-end flagship with a massive 6.9-inch Quad HD+ AMOLED panel. That means the S20 screen is expensive, delicate, and critical to the device’s function and resale value. Unlike LCD panels, AMOLED displays:
- Are more fragile during heat exposure
- Must be removed with extreme care
- Can fail due to flex or touch damage
- Require adhesive that doesn’t interfere with display integrity
A successful AMOLED replacement demands more than basic tools—it takes expertise and high-quality Samsung refurb parts that meet or exceed OEM standards.
2. Tools & Materials You’ll Need
To replace the S20 screen, have the following on hand:
Tools:
- Heat gun or LCD separator
- Suction cups
- Nylon pry tools
- Fine tweezers
- Anti-static gloves
- Phillips #00 screwdriver
- Isopropyl alcohol (90%+)
Materials:
- OEM-grade Samsung refurb parts (screen assembly)
- Pre-cut adhesive or T-7000 adhesive
- ESD mat and wrist strap
- UV-curing lamp (optional for glass-only jobs)
Using poor-quality parts or the wrong adhesive can damage the AMOLED or void the warranty. Always stick with verified Samsung refurb parts suppliers.
3. Step-by-Step: How to Replace the S20 Ultra Screen
Step 1: Power Off & Remove SIM Tray
Power down the phone completely. Eject the SIM tray using a pin tool and set it aside.
Step 2: Heat and Open the Back Glass
Use a heat gun or separator to warm the perimeter of the back glass. Aim for 80–90°C. Using a suction cup and plastic pry tool, slowly separate the adhesive around the frame. Be patient—this is the most fragile step.
Once opened, disconnect the wireless charging pad and fingerprint sensor connector.
Step 3: Unscrew & Remove Internal Components
Carefully remove all screws securing the midframe. Gently disconnect:
- Battery connector
- Display flex cable
- Touch and digitizer connectors
- Front camera (if necessary)
This exposes the internal shell and flex lines connected to the S20 Ultra screen.
Step 4: Heat & Remove AMOLED Screen
Reapply heat to the front glass—slowly and evenly. Use a thin metal or plastic card to slide between the frame and the screen. Be cautious—one wrong move can puncture the OLED layer.
Once lifted, disconnect the display flex from the board.
Step 5: Clean & Prep the Frame
Remove residual adhesive using isopropyl alcohol and a lint-free cloth. Ensure the housing is clean and dry before inserting new adhesive or using pre-cut seals.
If you’re reusing the frame, verify it’s not warped. If it’s damaged, swap the housing using Samsung refurb parts.
Step 6: Apply Adhesive & Install New Screen
Place your adhesive carefully—avoid over-application near sensors or mic holes. Align the S20 Ultra screen and press gently into place.
Connect the display flex and test the screen before final sealing.
Step 7: Reassemble
Once everything checks out:
- Reconnect all internal flex cables
- Screw in the midframe
- Reconnect wireless charging and fingerprint lines
- Seal the back glass with new adhesive or pressure tape
- Insert SIM tray
Power on the device and run a full diagnostic to verify functionality.
4. Tips for a Flawless AMOLED Replacement
- Always heat evenly to avoid burn spots.
- on’t force tools—if it resists, reheat and try again.
- Use thin plastic pry tools, not metal, to avoid OLED damage.
- Verify the screen flex is fully seated before powering on.
- Test touch, display, and proximity sensor before sealing.
These best practices reduce your return rate and ensure that your AMOLED replacement holds up under real-world use.
5. Choosing the Right Samsung Refurb Parts
Not all replacement screens are created equal. For the Galaxy S20 Ultra, OEM or OEM-grade Samsung refurb parts are critical. Here’s what to look for:
- OEM-grade AMOLED display (not aftermarket LCD)
- Refurbished glass-on-original-panel assemblies
- No dead pixels or screen burn
- Verified IMEI-safe parts
Trusted suppliers of Samsung refurb parts will provide quality checks, warranties, and return policies. Always avoid uncertified aftermarket displays—they’ll degrade quickly and hurt resale value.
6. Cost vs. Value of Doing It Right
Yes, premium parts cost more. But cutting corners on a S20 Ultra screen replacement costs more in the long run:
| Shortcut | Risk |
| Cheap AMOLED or LCD conversion | Dull color, poor brightness |
| Incorrect adhesive | Screen lift or sensor failure |
| Rushed installation | Ghost touch, flickering |
| Generic refurb parts | Lower resale, higher returns |
Investing in high-quality Samsung refurb parts and doing the job right ensures satisfied customers, better margins, and fewer complaints.
7. When to Outsource
If you’re new to AMOLED work or don’t have the tools, consider outsourcing to a trusted refurbisher. A single mistake with a S20 Ultra screen can cost hundreds.
Professional AMOLED replacement services often include:
- Fast turnaround (24–72 hrs)
- Warrantied workmanship
- Access to calibrated parts
- Return-ready packaging
This is ideal for bulk refurb businesses or B2B repair shops that want consistent quality.
8. Testing After Replacement
Before selling or returning the phone to a customer, always run:
- Display test (dead pixels, color shift)
- Touchscreen check (multi-point test)
- Brightness and auto-dim functions
- Face unlock or proximity sensor (if applicable)
Record these checks for warranty validation. This builds trust and protects your business.
9. Packaging for Resale
Once the S20 Ultra screen is replaced and tested:
- Clean with anti-static cloth
- Seal in tamper-evident packaging
- Include quality card/certification
- Offer 30–90 day warranty on screen
This aligns with professional standards for resellers and boosts buyer confidence.
10. Bulk AMOLED Replacement for Wholesalers
If you’re processing high volumes, build an efficient AMOLED replacement workflow:
- Use pre-ordered Samsung refurb parts in bulk
- Create repair zones with dedicated heat stations
- Train multiple technicians on best practices
- Track repairs by IMEI and serial
This allows you to scale up with confidence while keeping part quality and labor costs under control.
Final Thoughts
Replacing a S20 Ultra screen is one of the most high-stakes repairs in the mobile refurb world. But when done with the right tools, the right skills, and the best Samsung refurb parts, it becomes a profitable, repeatable process.
The key is precision—and trust. Never rush the job. Never compromise on parts. And always test thoroughly before resell.
With this approach, your AMOLED replacement services will not only meet customer expectations—they’ll exceed them.
Need help sourcing high-quality Samsung refurb parts or setting up an in-house AMOLED repair lab? I can help with supplier outreach emails, setup checklists, or training scripts—just let me know what’s next. Know more.


